This tutorial is going to show you how to install Google Chrome on Ubuntu 19.04, Ubuntu 18.10 by using 2 methods. We will see how to install Chrome browser from the graphical user interface (GUI) and from the terminal command line. Please note that Google Chrome only support 64 bit Linux system now. It you have a 32 bit only machine, I recommend you to install the Chromium web browser with the following command:
sudo apt install chromium-browser
Install Google Chrome on Ubuntu 19.04, Ubuntu 18.10 From Graphical User Interface (GUI)
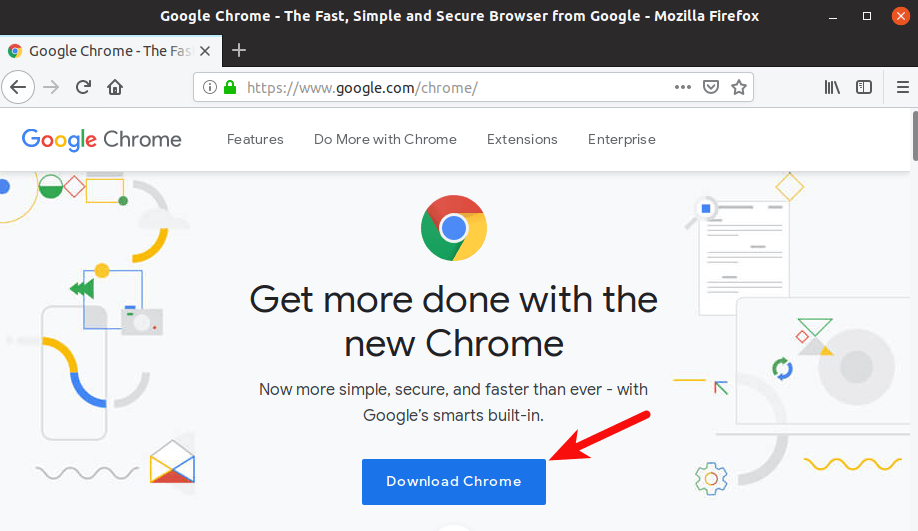
Go to https://www.google.com/chrome. Click the Download Chrome button.
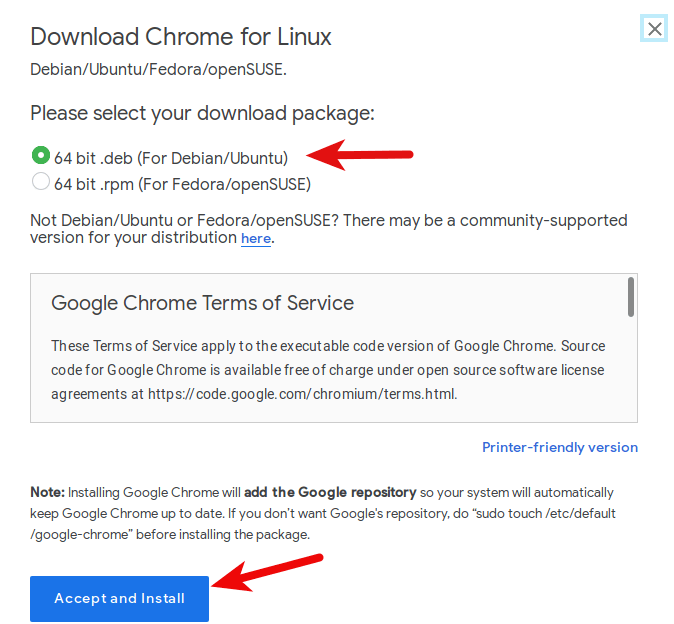
Then select the first option (64 bit .deb for Debian/Ubuntu), click Accept and Install button.
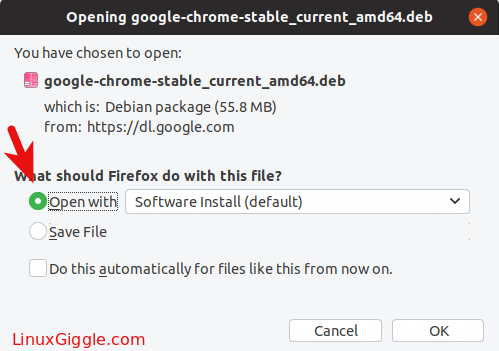
When Firefox asks you how to open this deb file, choose the default option to open it in Ubuntu Software (formerly Ubuntu Software Center).
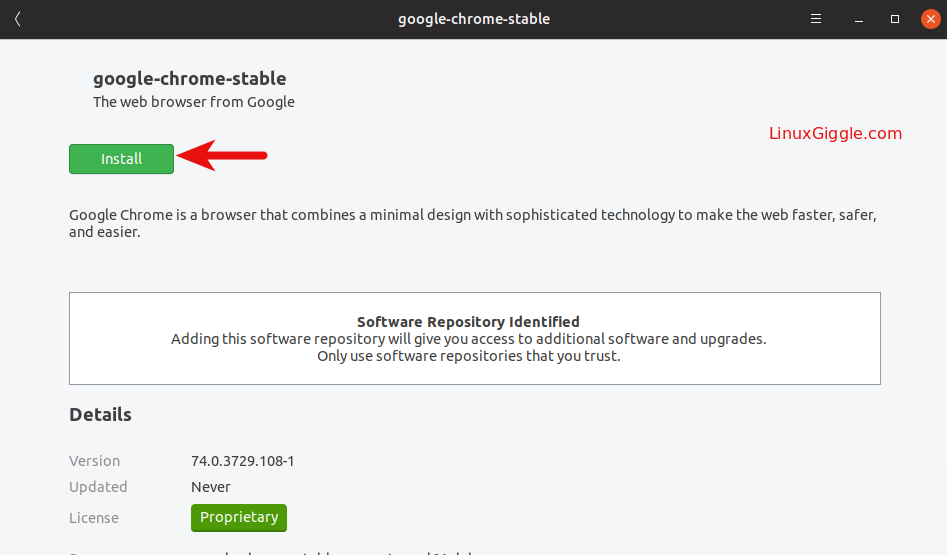
If you choose the first option, Google Chrome deb package will be downloaded to /tmp/mozilla_$username directory. Once the download is complete, Ubuntu Software will automatically open. Click the Install button to install Google Chrome web browser on Ubuntu 19.04/Ubuntu 18.10.
Because installing software on Linux requires root privilege, so you have to enter your password to authenticate.
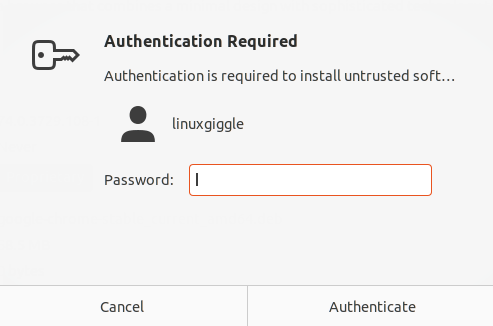
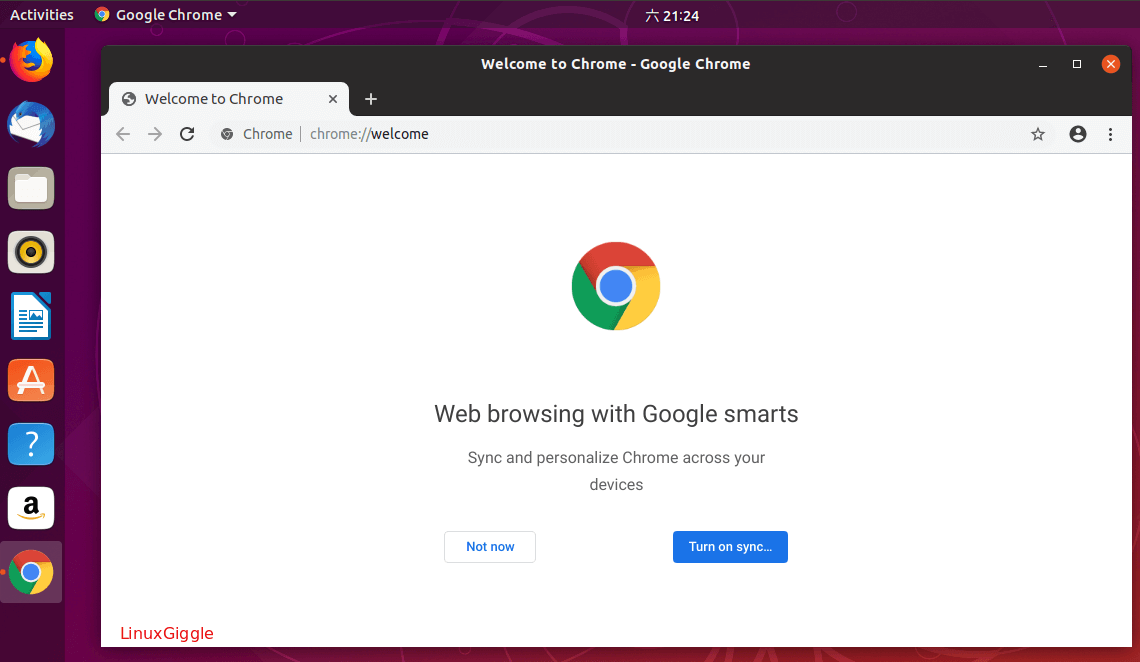
Once the installation is complete, you can start Chrome browser from your application menu.

You can also start it by typing the following command in the terminal.
google-chrome-stable
Install Google Chrome on Ubuntu 19.04/Ubuntu 18.10 from the Command Line
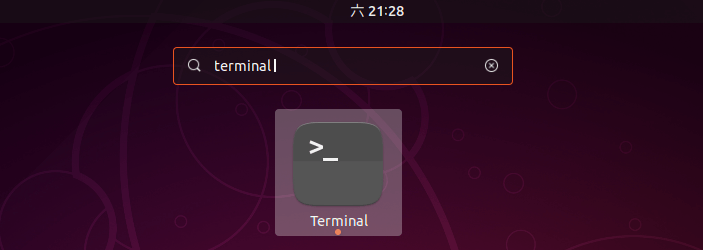
For those of you who like to practice their command line skills, here is how to install Google Chrome on Ubuntu 18.04 using terminal. First, open a terminal window from applications menu.
Then enter the following command in terminal to create a source list file for Google Chrome browser. Nano is a command line text editor, which allows you to edit text files in the terminal. You will need to enter your password.
sudo nano /etc/apt/sources.list.d/google-chrome.list

Next, copy the following line and paste it into the google-chrome.list file.
deb [arch=amd64] http://dl.google.com/linux/chrome/deb/ stable main
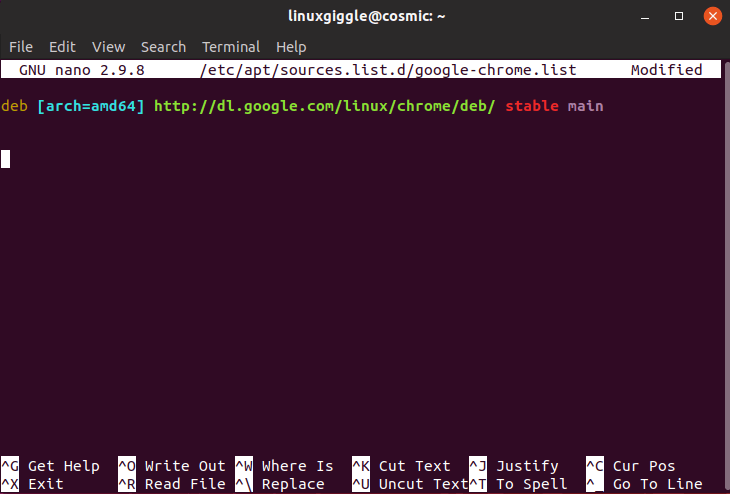
To save the file in Nano text editor, press Ctrl+O, then press Enter to confirm. Next, press CTRL+X to exit. After that, run the following command to download Google’s signing key.
wget https://dl.google.com/linux/linux_signing_key.pub
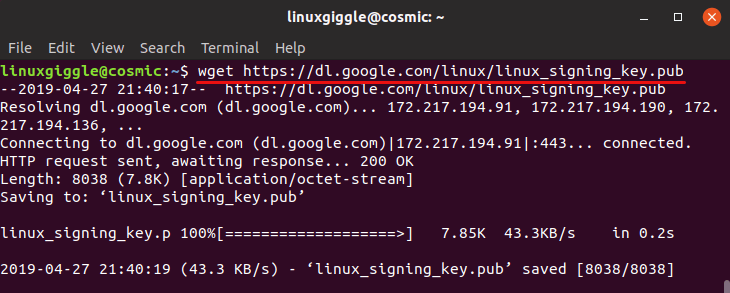
Then use apt-key to add it to your keyring so the package manager can verify the integrity of Google Chrome deb package.
sudo apt-key add linux_signing_key.pub
Now update package list and install the stable version of Google Chrome.
sudo apt update

sudo apt install google-chrome-stable
If you want to install the beta or unstable version of Google Chrome, use the following commands:
sudo apt install google-chrome-beta

sudo apt install google-chrome-unstable
To start Chrome browser from the command line, run:
google-chrome-stable
Wrapping Up
That’s all for now. I hope this tutorial helped you install Chrome browser on Ubuntu 19.04 or Ubuntu 18.10 desktop.

it lists a lot of capabilities, but I didn’t see instructions for how to execute them. It also has no instructions, that I could find, to add or delete icons to the search bar, i.e. move them from the menu to the search bar. I like the way the menu bar worked in the older version, where I could get to my email in one click.
E: dpkg was interrupted, you must manually run ‘sudo dpkg –configure -a’ to correct the problem.
that is what I got after trying to install 3 times… any help you can give?